

GLUEY COMPRESSION | How To Use A Mix Bus Compressor
Share
VIDEO TRANSCRIPTION
What a day. Welcome to England. Look at the weather. Pouring the rain. Coffee studio. Today. I'm going to talk you through how to get gluey compression. Once I get out of this depression. You’re really such a rhymer!
Hello, it's me again. And today I'm going to discuss with you compression. I'm going to show you a basic way to compress. I'm going to tell you how I do it and give you loads of other little tidbits of information as we go along once we get inside the computer. But before I start, let me just explain a little bit of history on me and compression. When I first started working as mastering engineer, many moons ago, we only had hardware. I had an SSL compressor. And if I'm totally honest for about the first five years, I didn't really know how to use it. So I didn't really use it much, which actually was more beneficial to me than I realized at the time, because with compression, you can overdo it quite a lot. And especially when it comes to mastering, you can crush things together. Too much things can start pumping. Things can go all over the place.
So if you don't know how to set a compressor up, and if you don't know why you're setting up in a certain way, it can ruin the music. So fortunately for me, I left it switched off and I'd really hoped that no one ever asked me how to use it or any detailed information. So if you are a little bit confused about compression and about using a compressor, when to use it, how to use it, don't panic. It's not the end of the world. If you don't know, and it doesn't stop you from working on some really good stuff. So I'll help you today with what I know about compression. And obviously over the years, I've added to that knowledge. And I hope I know how to use one by now. And I do so I'll help you.
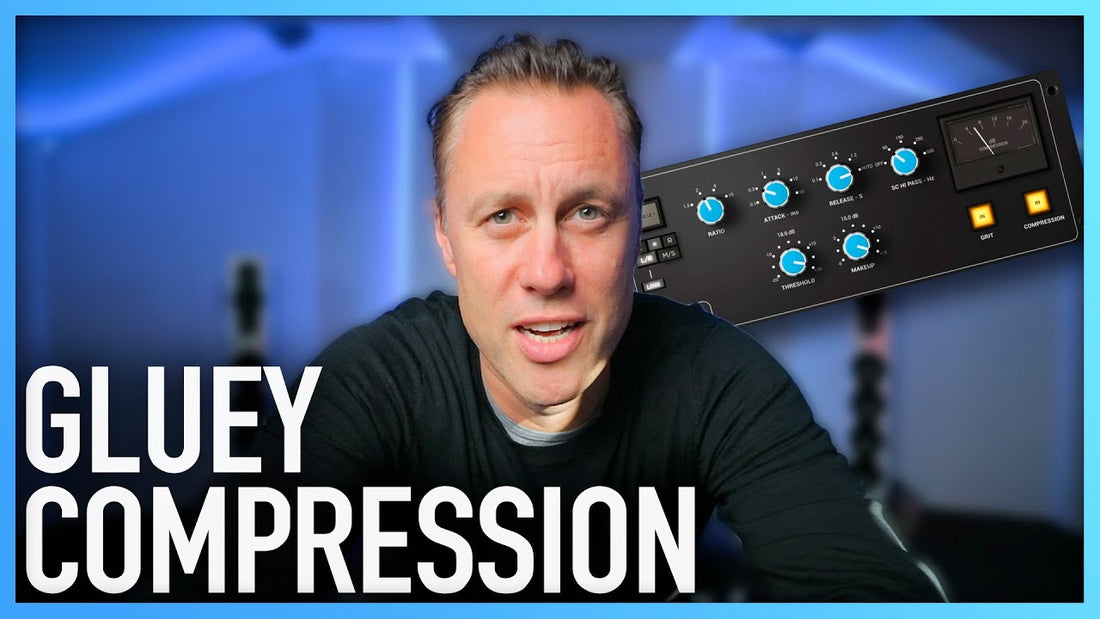
When we dive into the computer. Now I'm going to show you on an SSL compressor. Now these are standard. You get a lot of hardware modules that are duplicates of the SSL compressor. But what you’ll find is all the settings are pretty much the same on all of them. They might have the odd knob here and there for something, a little variant of to make those a little bit different. But you, what you'll find is the compression ratios and the attack and release settings are fairly seminar.
Now, when I say compression ratios, what do I mean by that? So this is basics of how it works. So what we have here is we have a line here. So as the signals going in like that, then you have a threshold here. And so you decide where that threshold is going to be on the signal. So say that's a 20 or something, they're making this up. So that's where it's going to affect the sound where you've got the threshold. Now this would be a one-to-one ratio because one's going in, one's going out. It's not doing anything. Then as you go, if you had it set to a 2 to 1, you've got one going in and it's bringing it down 2 for every 1 that goes in. And then you've got 4 to 1 and then it'll go down to like 10 to 1, which, because it's flat, straight across like that. It's basically limiting.
So if that makes any sense to you, good. But I have never ever worked out until I had to do this video to explain this what I'm talking to you about. Because I don't do that. I've got a motto when I master. And when I do anything is how does it sound? So how does it sound when I'm doing something? SSL type compressors that give the gluey sound? The standard setting is 4 to 1 ratio. That works. That's what everyone uses. Most compressors have a sound for a reason. People found that sound. And then it's just how much you pump into it. So for that gluey sound with an SSL type compressor, it's 4 to 1. But if I went to mastering and I started thinking about those ratios and why I'm doing that and this, and because it's bringing that down, doing all the physics stuff, I wouldn't get any work done. So basically I know that's what that compressor does. So that's what I do. So let's jump in and I'll show you on a virtual SSL type compressor, exactly how all of that comes together.
So here we are inside of RX again with Matt’s track. Let's listen. (Music playing). Okay, there we go. That's working. And here we are with a standard TRX version of the SSL compressor. As I said, they do all have different features. This one's got a grit one, which is doing I believe the second harmonics as the compression works. So they all have their little quirks just to try and make them different and stand out. And that's what they are doing on this one. You can also use it in M/S mode. But let me just give you a word of warning. I don't ever use it in M/S mode. I did for a bit, because obviously I got into doing M/S stuff, which is mid-side, if you're not used to that. Or mono stereo, if that's an easier way of you thinking about it. It does the left and the right.
But I only use in link mode in L/R because I just want it to be nice and tight rock solid, and it's gluey. I'm using it for glue. So I just want it to glue the track. I don't want to start pumping the bass in the middle and all that kind of thing. On here, it does have a side chain high passes, but the good thing about having this on a lot of compressors is the bass will generally tend to be the thing that's going to have the most energy. So that's the thing that's going to work the compressor. So by having a cut, so it's not you doing the bass, I tend to compress bass in a multi-band compressor so that I can generally have more control over the bass under about a hundred hertz. And then you can use a SSL like this above that.
So let's keep that 60 for the moment. So we're getting rid of all the subs and all the bottom stuff so that, uh, we know that this compressor is just going to be dealing with the low-mids and the mids and the tops. Like I say, I'd rather have more control over the low-end and not have this being pumped, get pumping sound from this, which is what can happen if you have the bass controlling it. So as I explained before we got into the screen, the ratios, so on the SSL, the way to get the gluey sound is to have a 4 to 1 ratio. So that's standard. Now the makeup game, keep that at zero. This is for on your mix bass or mastering, remember? Now attack and release times. So attack and release, if you have the standard way of starting with a compressor, always for your mixed bass or for your thing, I say always, but I'm sure there'll be a million people in the clients that tell me, no you're not right. But the way I do it is keep your attack slow and a very fast release.
Now with the attack, by having it really slow, it lets all the transients through. And so this is how you get a really fast punchy sound. And when you're at the mix bass stage, or when you're at mastering stage, you just don't really want to suck it too much. You go and across the whole track, you're just trying to push it all together a little bit. You're not really trying to do anything too dramatic. So really you don't want to start ruining your transient. So keep the attack on slow, and they're released now. Basically, if you want it punchy, you want it fast, then you keep the release on fast. Now, as you start pulling the release time up, that's obviously holding the sound a bit longer. So it comes through the compressor and depending on the amount of compression you're putting through it, it's going to hold on to that sound a bit more.
So the more you have on the longer it's going to hold onto it. This does have an auto feature so it works out for itself. But I suggest using it on the fastest to start with, especially if you're doing anything, that's dance music, hip hop, anything like that. I tend to use a slower release if I'm used doing classical and things. I've got a classical track lined up here, so I can demo that to you. So I'll stop talking and I'll talk as I'm doing it. And then you can hear exactly what I'm doing and how I'm doing it. So that's the setup.
So let's get match track into a bit. It's a bit pumpier. So let's bang that in preview mode. (Music playing). So you can see nothing's happening. We're totally bypassed. So if we put it in compression. Now for me, that's working far too hard. So I'm going to have to bring the threshold down until, with mastering and with mixing you really at this stage, the way you're using the compressor is you hardly want to see this meter moving. You want to see it -10 or +10 is on here. But you want it so it's just nudging along. You don't want to see it moving. If you've seen it moving, you’re probably doing too much. Now I would say I'm probably doing too much here. To gain makeup, I'm not going to use because there's no need for me to pump a load level in because I'm not going to actually hear what it's doing.
I'm not taking too much off. If you were taking safe, 4dB off or something, then you're going to have to start putting it in and out because you can hear the level drops quite a bit when it's out. It's dropping out quite a bit when it down so you leave that. So basically, the way you want to set it up is this way. So you just get that back down to +10. And you see it flirting with it. So now let's put the grit in and let's see what that’s sounding like and then let's put the compressor in. (Music playing).
So a bit more full level. Both channels would help. So let's go in and out. Maybe go so we can hear a bit more so you can hear it. It's making a groove a little bit more now that I've put that release time up a bit. I think we got a little bit more, so I'll pull that down and you can see that’s moving. And that's probably about 1 or 2 there. But as ever, use your ears work out with your ears. (Music playing).
So leaving the bass. But what I did there was, I just basically bought the bass up a bit because that higher end of the bass, it sounds better when it's on 150 there. So just tested that. Had a listen. See what it sounded like sounded good straight away because what it did, it made it stop the bass from pulling out the work in the compressor. And suddenly the mids are starting to get more gluey because the bass isn't taking over, they're really sort of pumping in and coming together nicely. So let's just preview this again and I'll just bypass in and out. So you can hear what that's doing as I do it.
As with all these things, you need to use your ears. So I can see it’s moving a bit. Let’s listen. (Music playing).
They're a bit too much now. I think it's like bringing out that vocal too much so let’s just back that off a bit. I want it to be smooth. I don't want it to be doing too much. So let’s just bring it down a bit. As I said earlier, you don't want this moving. You don't need it moving. Listen how much change it makes without it moving. Let's just move that down. It's massive amount, but it's not doing anything. (Music playing). I'm just listening. I'm working out what it’s doing, I don't want it to do a lot. I just want it to flavor up. I just want to sort of just pull it together a bit. That's some gluing it. I'm not smashing it today. All the transients are in there but you can start hearing everything coming together a bit more.
If you listen to the percussion that all starts coming together with everything. (Music playing). The bass starts getting involved there. I don't want it to involve. so you might at some point use this for then gain staging. So, you know, okay, I like the sound of this. So I liked the sound of how much compression is going on. But if you want to get your level up through your equipment, you might then add a dB onto this compressor. So you're adding a bit of a flavor of the output of the compressor to then add into your chain so that as you go through each piece of equipment on your plugin chain or on your output chain, you're then adding a little bit of level every time.
And then by adding that level, it all adds up to allow track. And also you're getting a bit of the flavor of the output of the different compressor, whether that's a tube compressor or any kind of compressor that gives you a bit of vibe. But again, you've got to listen to what it's doing and listen to how it's affecting the sound. Because as you start turning this up, as you start playing with this, it's going to affect all the things after this. So you need to think, okay, well, how's that affecting the EQ after this? How's that doing? But it's just about using your ears all the time. How's it sounds? So that's fine. That's pretty cool. That's basically as much glue as I’d give.
And so all I'd say is most compressors always have their own sound basically. And you find a sweet spot with most compressors. Now this would be a sweet spot for most SSL type compressors playing with the release time if you've got another track. Let me just play you another track so that I could really, um, broaden that out a little bit. So if you've got a classical track, (music playing), you can afford to bring the release time out a little bit. So everything starts sounding a little bit sweeter, little bit more together. The harmonics are all joining together. Let’s take the grit off. (Music playing).
So that's pretty much how I use it when I'm doing orchestral stuff. It means I can have a little play around. Most of the time with orchestral stuff, I'm more likely not to use an SSL from totally honest, I'd be using something that's got a little bit more character, a bit more warm, something like a fair child, or just something that's got some tubes or something that can add a bit more tone rather than. And when you put release on that, you get more of the flavor of the compressor and that way it really colors the sound a lot more. So that's what I tend to do with classical stuff. But if you're just doing stuff that like pop music, hip hop, dance music, then you want to be using SSL really fast, pumpy, glue it together. Everything starts really sounding together and all in one spot and gets moving. And if you just use a multi band to be doing your bass, rather than using the sort of a whole stereo compressor, then you'll get a tight bass sound too.
So I hope you've got something from that. Let me know any questions that you have in the comments. I'm happy to explain myself, or if you have different ways of working with it, more than happy to hear them so that I can add them to my repertoire. We're always learning. So there you have it. That is what I know about compression. Well, I know a lot more than that about compression, but that is the basics. That is all you need to get going. That is all you need a lot of the times when you are mixing or mastering. You don't need a lot more than that. You start getting into other sort of tips and tricks after that. It's all kind of gravy as they say. So don't be too panicky about compression. Use it in a very simple way, very subtle way. And you'll get some great results.
