GET VOCALS TO SIT PROPERLY IN THE MIX | How To Mix Vocals
Share
VIDEO TRANSCRIPTION
Hi, I'm Streaky. Today, I'm going to show you how to set your vocals perfectly in the mix. So let's jump into the computer. So here we are in pro tools. Now what we have, we have the vocal at the top and we have the instrumental down below. Let's hear how they sound. (Music playing).
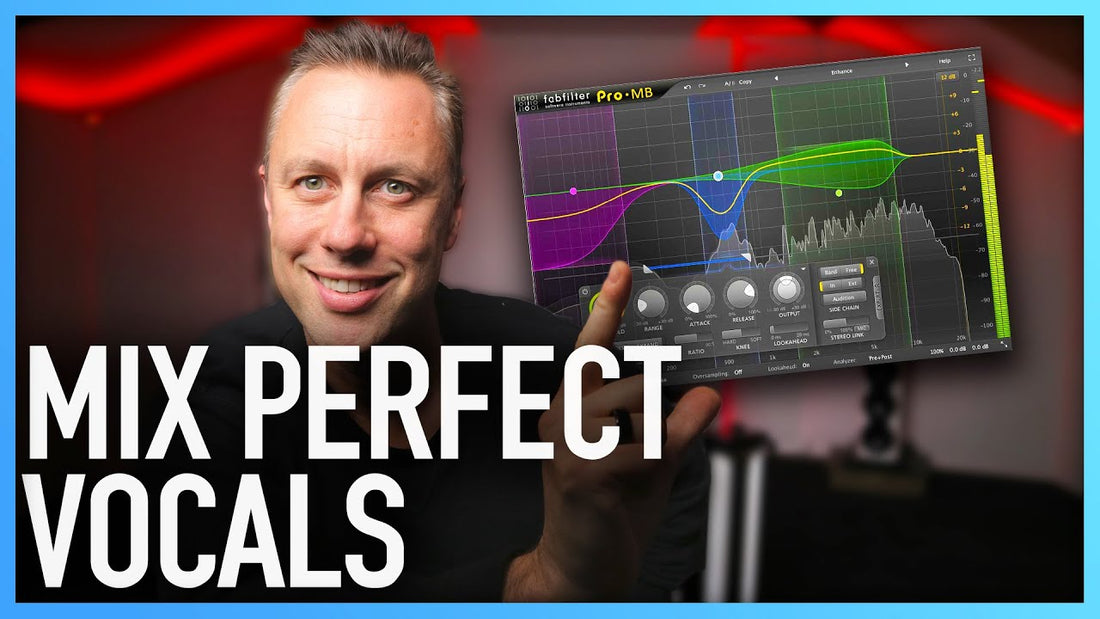
So you can hear the vocal sounds like it's not blended in with the mix properly. It sounds like two separate things, which it is. So how are we going to set this up? Well, what we want to do is we want to get a multi band compressor, and we want to set this up so that it's around the vocal area. So if I just move that, then the vocals are normally found anywhere across the mix can be all the way down under 500, all the way up to about 800. But what we're trying to do is we're just wanting this to sit in the mix a little bit more. So these frequencies here around sort of 800 to about sort of 4k or 5k is where we want to be. So if you can look at this shape, then I can explain to you how this works.
If you look at this, now let's go to a whiteboard and I'll explain exactly what we're going to be doing. So you can see it visually. We have the main track going along. Then we have the vocal, which is sitting like this going in and out. So at the moment they're running parallel to each other. But what we want to try and do is blend these together. So what we're going to do is we've got the vocal along here and then we're going to take the track. And we're just going to every time the vocals there, we're just going to duck it out of the way, very slightly so that we allow space for the vocal to take over the main focus point of the track. Now we're not doing it across the whole track, which would be, so if you think of a track, say this is the bottom frequency of 20Hz, the bass stuff.
And then you've got the top, which is 20k, which has all the hats and all that stuff. The vocal is only appearing around here. So all we're doing is effect, where this ducking, this section is only going to be ducking here. It's not going to be doing the top or the bottom just around where the vocal is so we can slot the vocal in. So that little piece of vocal, we just want to create a pocket in the track and just duck that into its place. Every time the vocal comes in. Now let me show you inside exactly how we do that with the multi-band compressor. So in the multi band, we have this now set up so is at 1.5k and we have this at about 5.5k.
Now we've got the range here so this is our little pocket if you like that, we're going to create. This is going to duck the main track, because this is on the main instrumental. So it is side chaining from this vocal. So every time this vocal kicks in, this is just ducking in that frequency range here. So let's just play that and you'll know exactly what it's doing. Now, listen out for the piano because the piano is the thing that's clashing with the vocal because that is in this frequency range. So that really does duck out of the way and let the vocal take the focus as it pops in and out. So really listen to that piano. (Music playing).
See the vocal is now smothered by the piano. Now the vocals sitting in there. Play around the settings until you get really tight. So now we've seen that in its current form. Let me show you a really extreme way. So you can really hear what's happening. We've got it -15, about -18. Let's do -15 for cash. Uh, put that on release and then put the attack on. And then you should hear how dramatically it is pulling the track down. (Music playing).
You want that release time quite quickly. Let’s go again. You want to go extreme so that you can really work out your attack and release time. So, uh, once you have gone extreme, then you can start reigning it in until you get that really good balance between the extreme and, and exactly how you're feeling it sits perfectly. (Music playing).
So after you've got this ducking and working so that the whole tracks together. The best way to get this to then really bond together so that you haven't got as much movement and it gets really gluey sound, is to get gluey compression on there. There's a video following this that tells you exactly how to get gluey compression on your mix bus. So make sure you watch that. And then what you'll be able to do is be able to put any vocal with any instrumental using these two tactics together. And you will get a really good sounding mix.


